20
May
May
LIVE - Rebellion Reads Posts
Tattoo Cartridge Manufacturing | Tattoo Equipment Evolution Pt. 10
Insights into Tattoo Cartridge Manufacturing – How Cartridges Are Made
Tattoo cartridge manufacturing isn’t simple. What looks like a small piece of plastic with a needle inside is actually the result of multiple supply chains, specialized processes, and strict quality control. Depending on the company, some steps happen in-house while others get outsourced to suppliers. One manufacturer may even provide parts to another.
Most production happens in China, where scale, experience, and lower labor costs keep prices competitive. However, not every factory delivers the same standard — some turn out reliable professional tools, while others ship cartridges you wouldn’t want near a client’s skin.
This article walks you through the general, global tattoo cartridge manufacturing process of how cartridges are made. Brand-specific details and REBEL’s standards will follow in the REBEL — The Apex of Tattoo Cartridges | Tattoo Equipment Evolution Pt. 11.
Why Cartridge Manufacturing Matters
Cartridges are more than plastic shells. They combine precision engineering, material science, and medical safety in one tool. The way they’re built determines:
-
- Whether your lines stay sharp on the first pass or need relining.
- Whether ink flows smoothly, spits, or doesn’t flow at all.
- Whether the cartridge seals properly or lets contamination reach your grip.
In short, the choices made on the factory floor end up in the artist’s hand. To see how mechanical stroke translates from cam wheel motion to cartridge output, read What Is Stroke in Tattoo Machines?.
From Needle to Cartridge Manufacturing
In Tattoo Equipment Evolution: Needle Manufacturing (Part 7), we saw how raw stainless steel wire is transformed into finished needles. By the time those needles are ready for cartridges, they’ve already gone through tapering, soldering, and quality checks. Some manufacturing facility doing this in-house some uses vendors to deliver it.
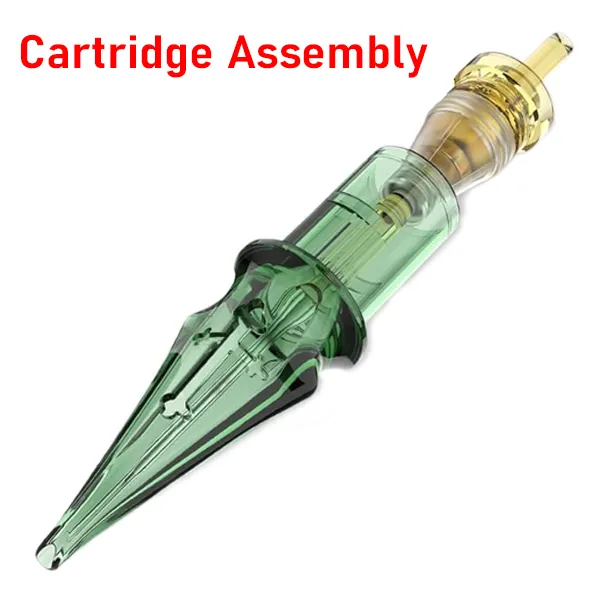
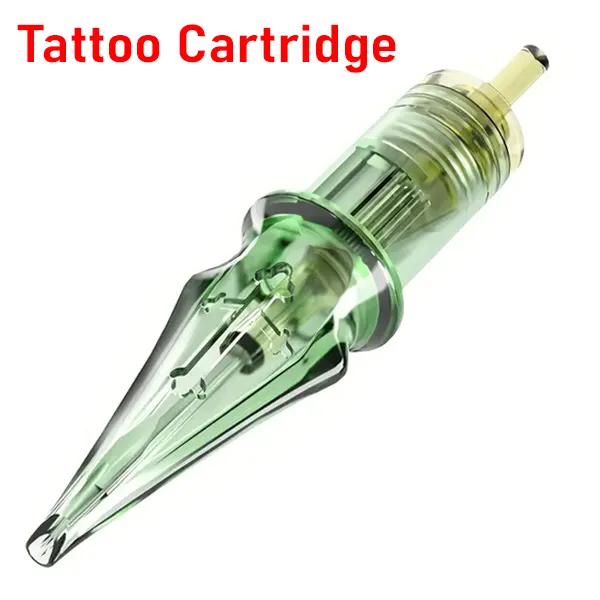
In Tattoo Equipment Evolution: Tattoo Cartridges (Part 8), we broke down the anatomy of a cartridge and how each part functions:
-
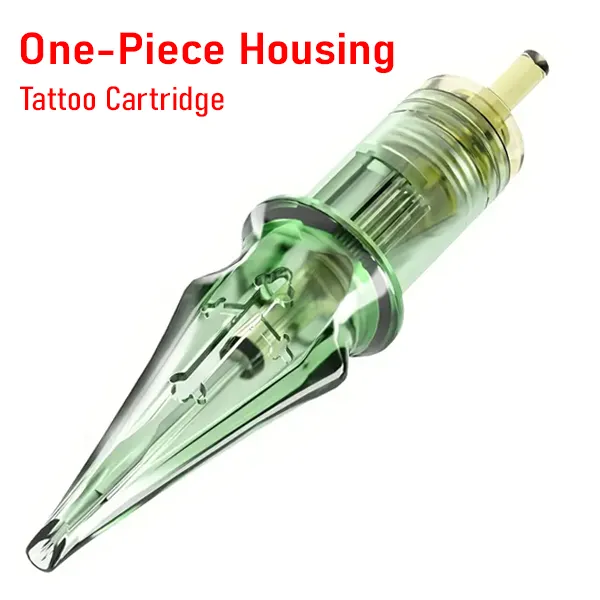
- Housing – one-piece or two-piece
- Plunger assembly – plastic rod + needle head
- Membrane system – the retracting mechanism
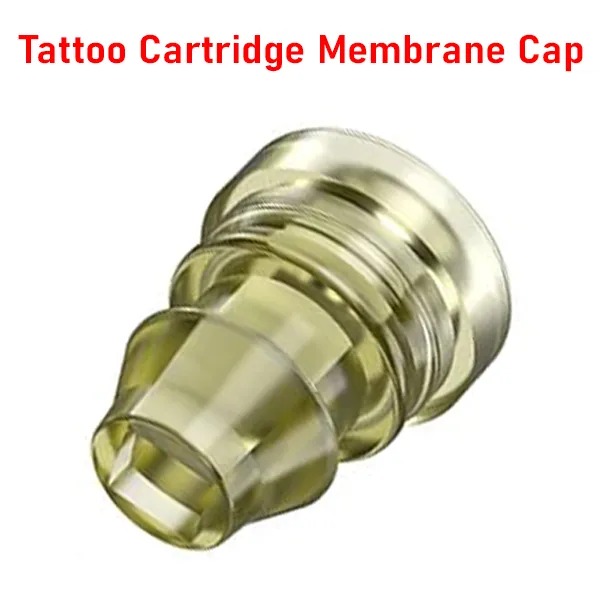
- Membrane cap – locks the plunger system in place
Every cartridge is built on these fundamentals. The differences lie in precision, tolerances, and material quality. Therefore, this chapter is where those parts come to life — how they’re physically produced, assembled, and packaged before they ever reach your hands.
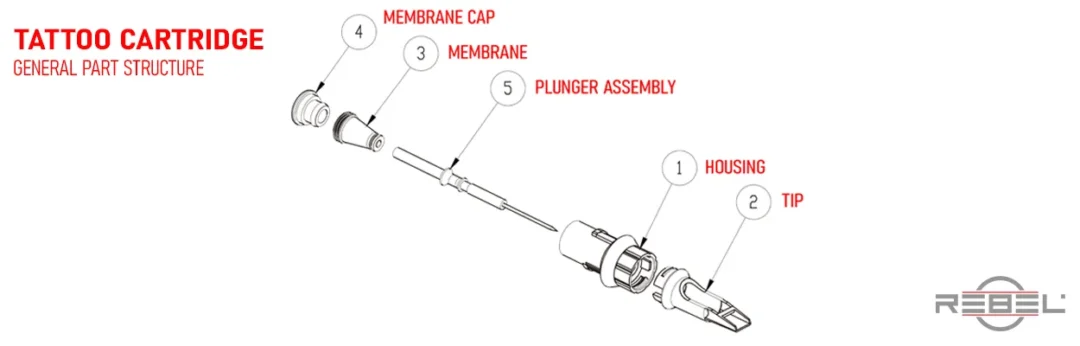
Diagram of a tattoo cartridge showing its main components: housing, tip, plunger assembly, membrane, and membrane cap.
Now that we know the parts, it’s time to step onto the factory floor and see how they’re actually made — starting with the plunger assembly
Core Factors in Tattoo Cartridge Manufacturing Quality
Across the industry, four points make or break tattoo cartridge manufacturing quality:
-
- Needle quality and soldering → determine if lines stay crisp and groupings run stable.
- Plunger–needle bond → must withstand vibration for hours without failing.
- Retracting mechanism → ensures safe return and prevents ink backflow.
- Tip geometry and resin → control ink flow, visibility, and stroke stability.
Tattoo Cartridge Manufacturing Process, Step by Step
Cartridges don’t come together in one shot. Instead, they move through a sequence of steps. As a result, each stage builds on the last. If one is skipped, the flaws show up immediately in your machine.
For example, a weak bond at the plunger makes the whole cartridge useless. In the same way, poor housing tolerances ruin line stability.
Because of this, professional factories treat cartridge production like an assembly line. Each step prepares a component that moves down until the cartridge is sealed, sterilized, and boxed
1. Plunger Assembly
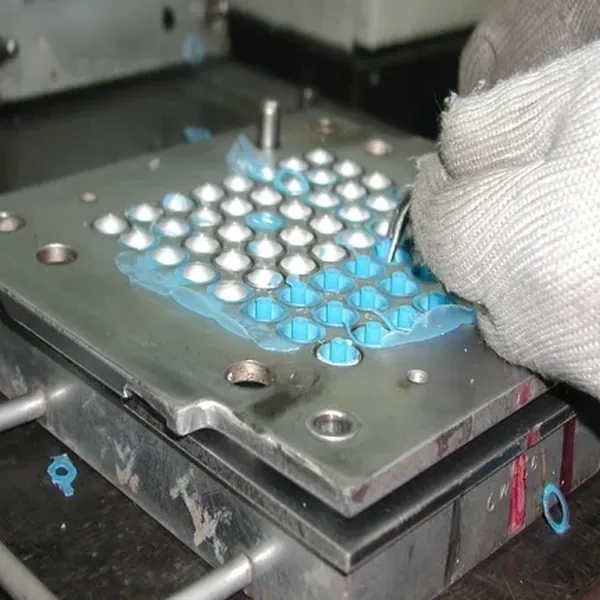
Factories mold plunger rods using injection machines. First, plastic pellets melt, inject into multi-cavity steel molds, and cool into hundreds of rods per run. Each rod has a head sized for a specific needle grouping.
Next, assembly workers glue the finished needle heads into these rods. They apply adhesive by hand or with small pneumatic dispensers, then cure the bond under controlled conditions. Professional facilities choose industrial adhesives that can resist vibration; low-grade factories often don’t.
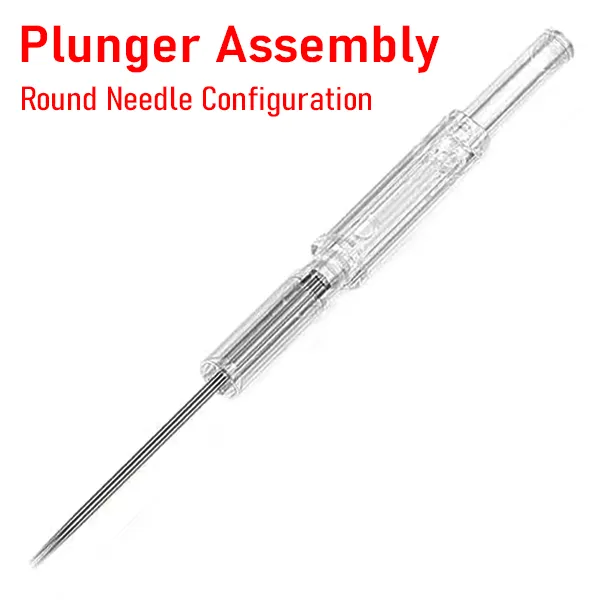
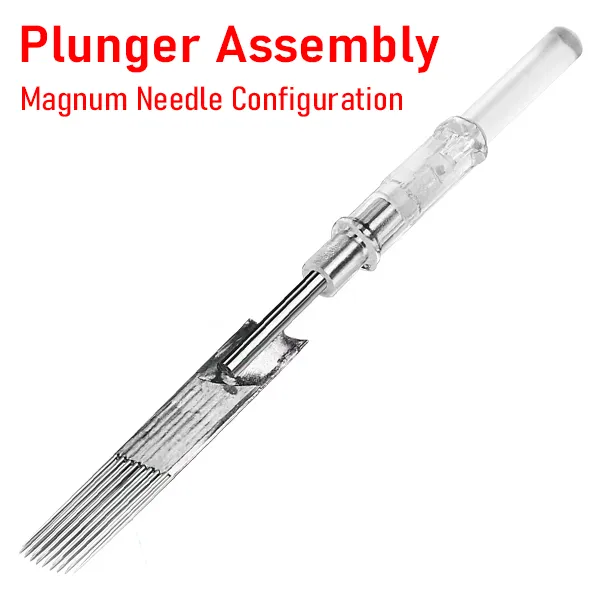
At this stage, the core of the cartridge exists. After that, it needs a mechanism to return the needle after every stroke.
2. Retracting Mechanism
Silicone specialists cast membranes in sheets or reels and ship them to cartridge factories. Workers cut the sheets into discs and slide them over the plunger rod.
Then comes the locking step. Operators secure the membrane with a cap — either snap-fit plastic or ultrasonically welded — using press fixtures or semi-automated machines.

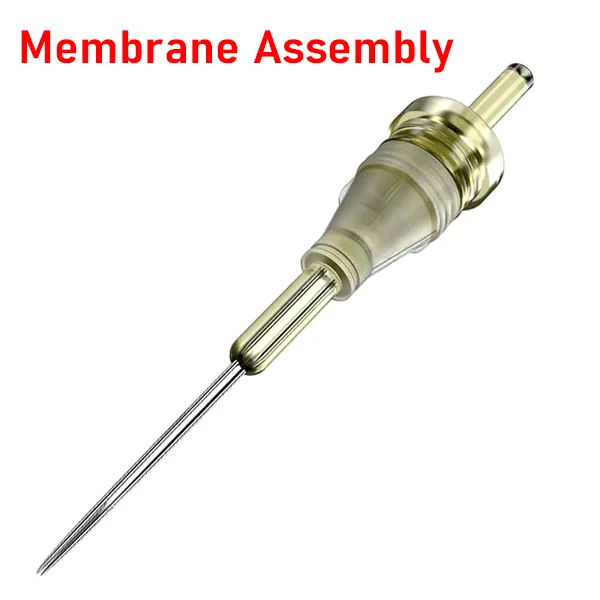
With the membrane installed, the plunger assembly can return. Consequently, it now needs a body to run inside.
3. Housing and Tip Production
Injection molding machines also produce the housings. The process starts with a CAD model (Computer-Aided Design) — a digital blueprint that defines every curve, measurement, and tolerance. Toolmakers cut this file into hardened steel molds.
-
- One-piece housings: body and tip molded together.
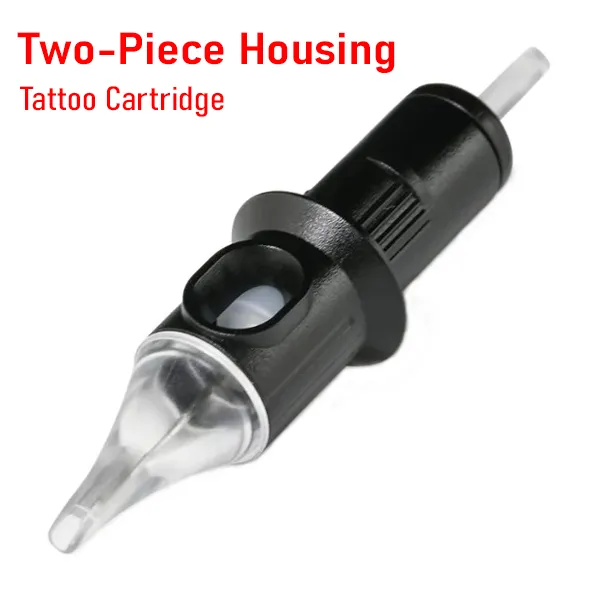
- Two-piece housings: body and tip molded separately, later joined by press-fit or glue.
After molding, operators cool, eject, and inspect the parts. Then, workers trim or polish flash and sprue marks before sending them forward. Medical-grade resins matter here — not just to survive sterilization, but also to withstand heat from high-frequency operation.
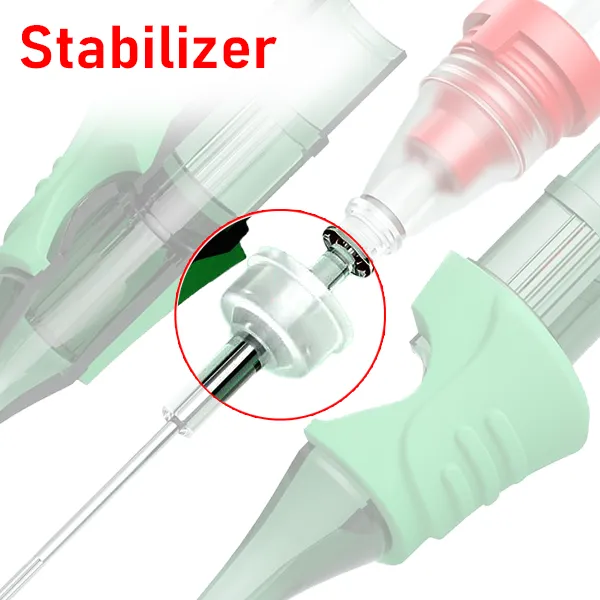
Round configurations often include a stabilizer insert. In this case, molding machines produce these rings separately, and workers press them into the tip during assembly.
Once housings are ready, finally, it’s time to put all the components together.
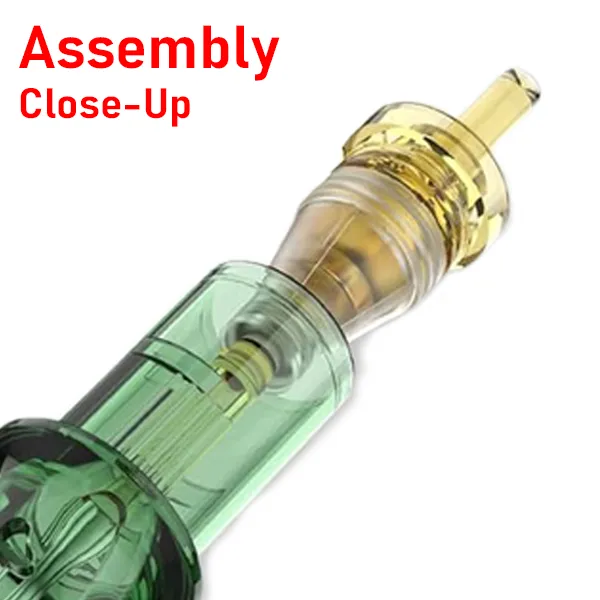
4. Final Assembly
Assembly teams combine the plunger–membrane units with the housings. They align stabilizers, lock tips in place, and finish the build. As a result, the cartridge finally takes its full shape.
Quality Control (QC)
Professional factories don’t wait until the end to inspect. Instead, they build checkpoints into every stage:
-
- Inspect incoming materials.
- Test plunger bond strength.
- Check membrane seals.
- Measure tip alignment and tolerances.
- Verify final fit under magnification.
Because of this, defects get caught early. Skip QC, and failures appear mid-tattoo instead of on the production line.
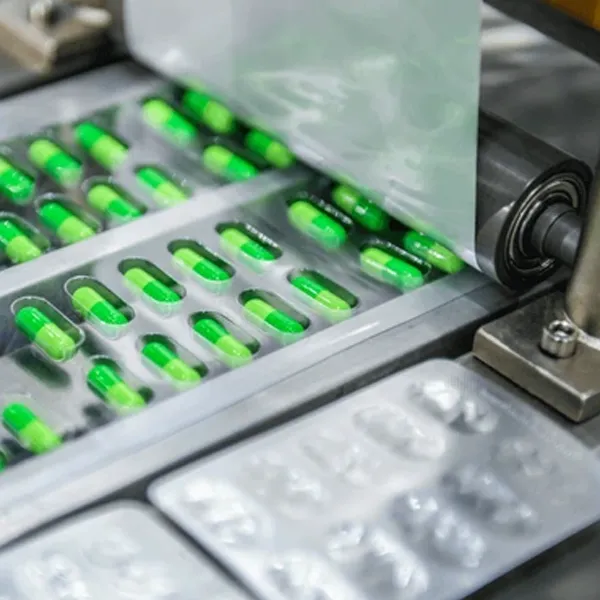
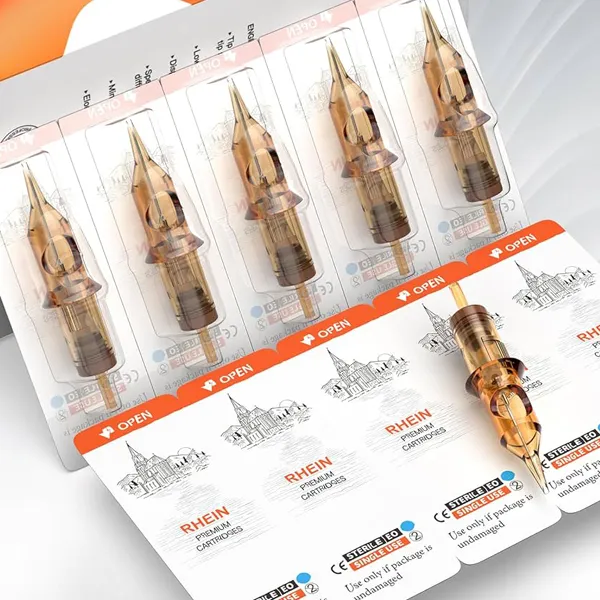
Tattoo Cartridge Packaging and Sterilization
After assembly, cartridges move to blister packaging lines. Workers load them into cavities, and sealing machines feed, cut, and heat-bond the packaging.
Blister packs contain two key layers:
-
The Blister (Formed Plastic Part)
-
Cavity/Pocket: molded to hold the cartridge.
-
Web/Flange: flat edge where the blister bonds to the backing.
-
-
The Backing (Substrate/Seal Layer)
-
Lidding Material: medical-grade paper, foil, or film.
-
Heat Seal Coating/Adhesive: bonding layer activated by heat.
-
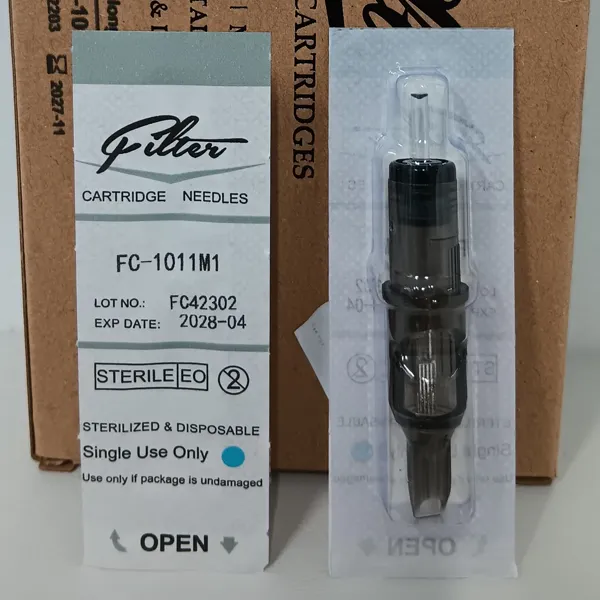
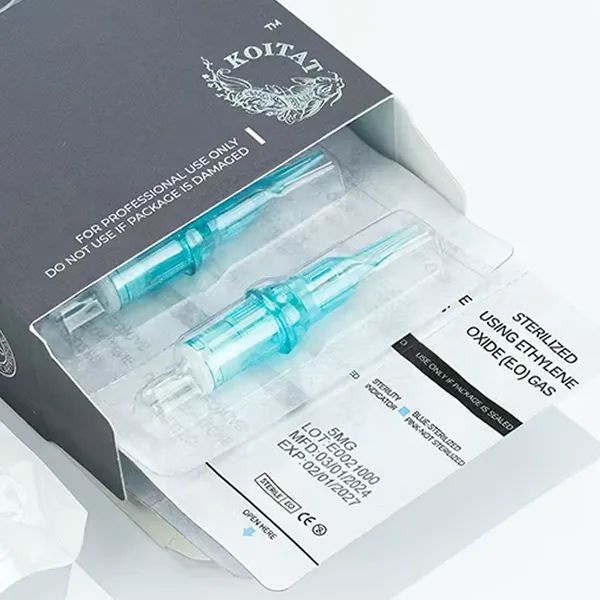
The paper lid carries all essential details: branding, configuration, LOT number, expiration date, and sterilization indicator.
From there, the process continues:
-
- Five cartridges per blister → perforated for easy tear, and then packed into 10- or 20-count retail boxes.
- Workers stack boxes into master cartons.
- Facilities ship cartons to sterilization plants, usually using EO gas.
After sterilization, the products wait in aeration until cleared safe for distribution. Only then do they reach artists’ hands.
Tattoo Cartridge Market Reality Today
The market is flooded with brands and variations. Some maintain consistency, while others cut corners on resins, membranes, or sterilization. These days, anyone can slap a label on a box and call it a tattoo cartridge brand — and many do. I’ve even seen medical supply companies launch cartridge lines just to make a quick buck, with zero knowledge of the tattoo industry.
As I mentioned in Tattoo Cartridge | Tattoo Equipment Evolution Pt. 8, this creates a kind of “market chaos” where part names, shapes, and claims vary wildly, leaving artists guessing what’s trustworthy and what’s not.
And here’s the truth: showing up on Amazon doesn’t make a cartridge professional grade. Low prices and fast shipping might be enough for a hobbyist or scratcher who doesn’t know better. But for a professional tattoo artist, cartridges must deliver safety and consistency year after year. Bargain-bin sellers can’t guarantee that.
Professional-grade cartridges reach studios through trusted distributors — the partners artists rely on when their reputation, their work, and their clients’ safety are all on the line.
Conclusion
Tattoo cartridges may look simple, but behind every sterile blister pack lies molding machines, adhesives, membranes, and rigorous quality checks. This article covered the general, global process of cartridge manufacturing — the foundation of how most factories build them.
In the next part of this series, I’ll pull back the curtain on REBEL precision cartridges: why I set higher requirements, which shortcuts I rejected, and how those decisions shape the tools you hold in your hand. That’s where the personal part of this story begins.
Explore REBEL Precision Cartridges
For artists ready to work with cartridges built on strict standards, explore the full range of REBEL Precision Cartridges — designed for safety, consistency, and precision-driven performance.
Read On
Part 11 is where REBEL takes its place at the Apex of tattoo cartridges.
Spread the Knowledge
If this article gave you clarity, share it with fellow tattoo artists and apprentices. The more we understand how our tools are built, the higher we can set the standards of tattooing.
Make Your Voice by Leaving a Comment
Got insights or questions about cartridge manufacturing? Drop them below. It takes a moment to log in, but your voice helps keep the craft moving forward.
◦ Caesar The Hun
